Using VMWare to replace the slow Android Emulator
This tutorial shows how to accelerate the Android App development using virtual devices by replacing the slow Android emulator with faster VMWare. Most of the techniques described here will also work with other virtualization software like VirtualBox.
We will first setup a virtual machine, then install Android there and finally use Visual Studio to debug the San-Angeles sample on it. Using VMWare has an advantage of much faster simulation speed, however it will only simulate the x86 Android system, hence if you want to debug an ARM-specific problem, you will still need an actual device or the slow ARM emulator.
Before you begin, install VisualGDB and download an x86 Android image from android-x86.org, a project providing Android images compatible with moder PCs.
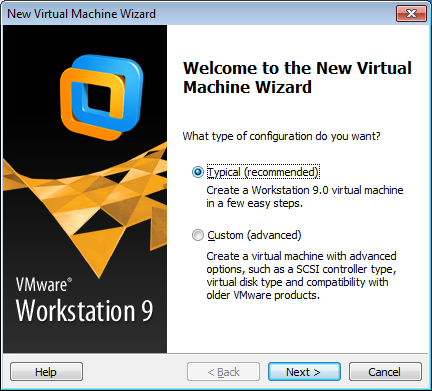
- Open VMWare and begin creating a new typical VM:
- Select “I will install the operating system later”:

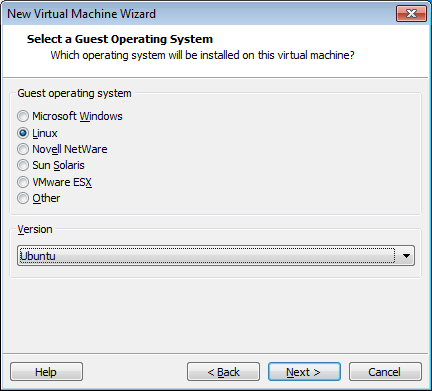
- Select “Linux” as the operating system:
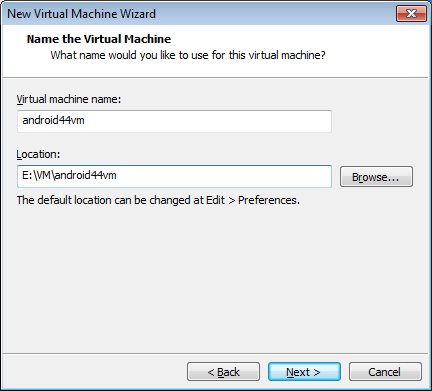
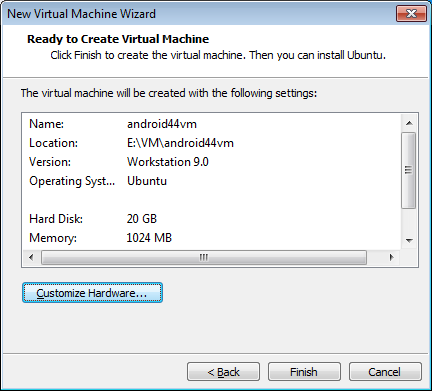
- Specify the VM name and the folder where you want to keep it:
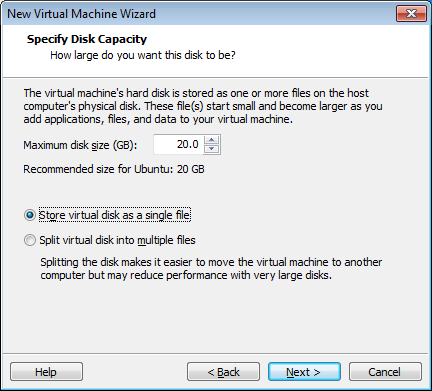
- Proceed with the default parameters for the disk. Note that VMWare will create a SCSI disk by default and we will have to replace it with an IDE one:
- Before completing the wizard click “Customize hardware”:
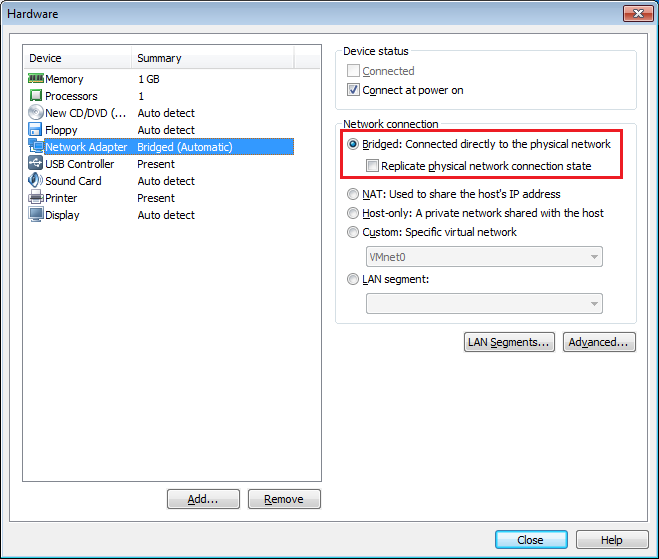
- Then we need to do 3 customizations. First, switch the network to the bridged mode so that the emulated device gets an IP address we can connect to:
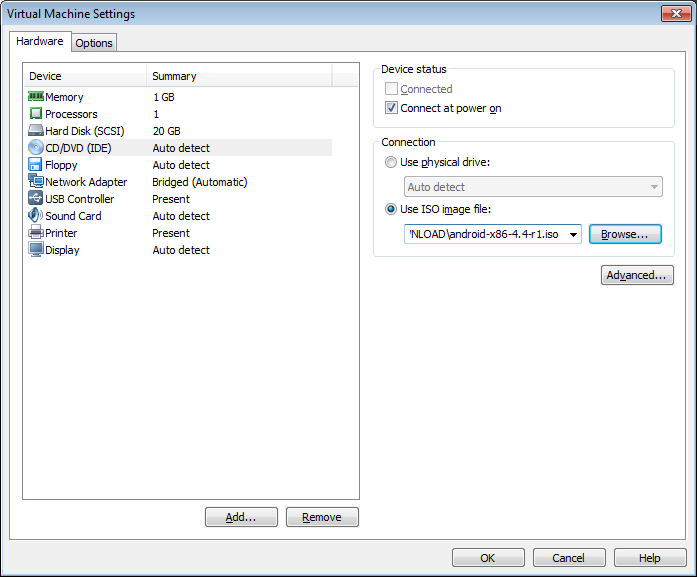
- Then mount the ISO image you downloaded to the virtual CD drive:
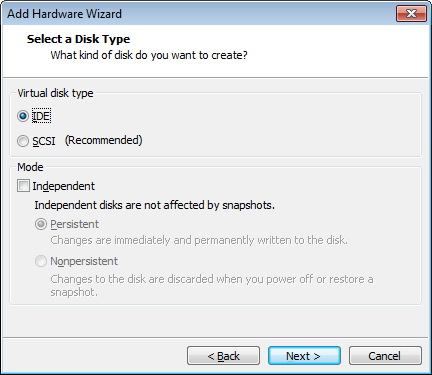
- Finally, remove the hard disk and add an IDE one instead of it:
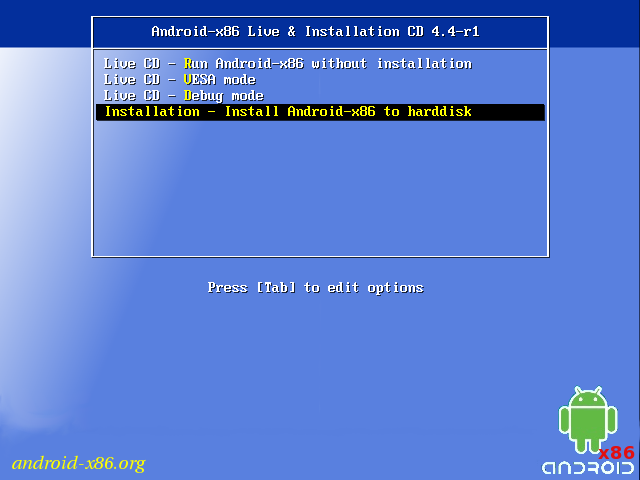
- Now you can start the virtual machine. The ISO image you have specified will show a prompt asking whether you want to run Android or install it. Select “Installation”:
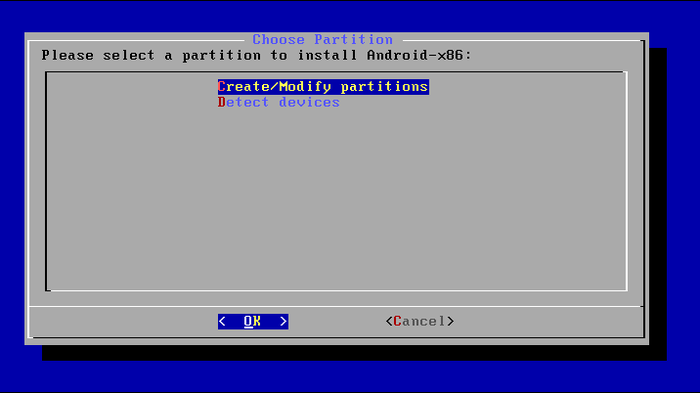
- A basic text-mode Linux environment will boot and the installation menu will appear. Select “Create/Modify partitions”:
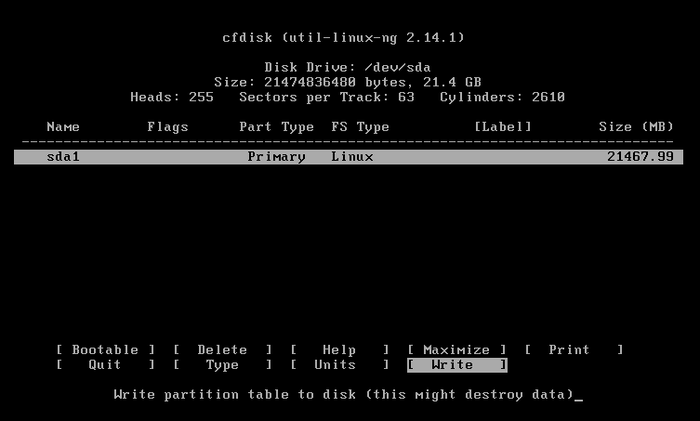
- Create one Linux partition for the entire disk and select “Save”:
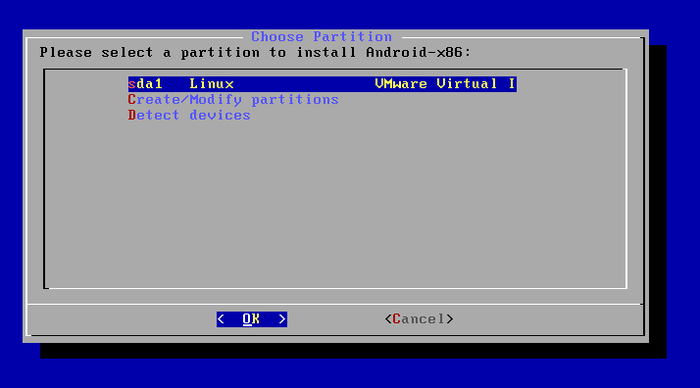
- Once you exit the cfdisk tool, the created partition will appear in the menu. Select it to continue:
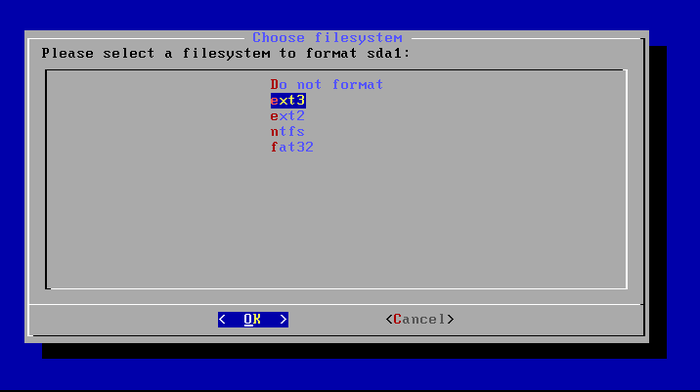
- Format the partition with the ext3 file system:
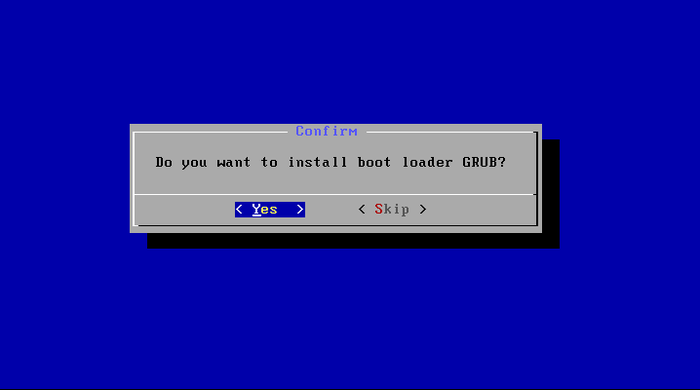
- In order to boot Android from the hard disk, install the GRUB loader:
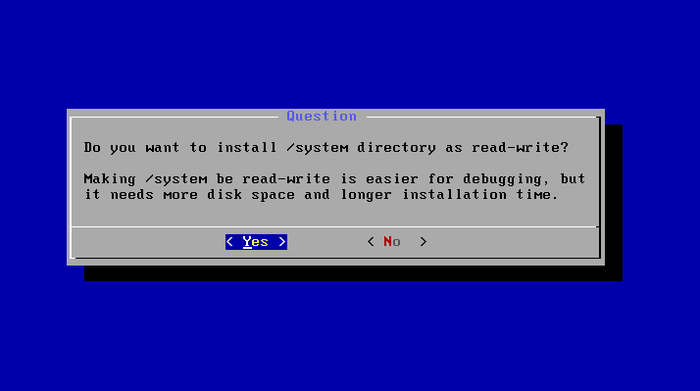
- The installer will ask you whether you want the system directory to be read-write. Select “Yes” as we will need to do some modifications to support debugging properly:
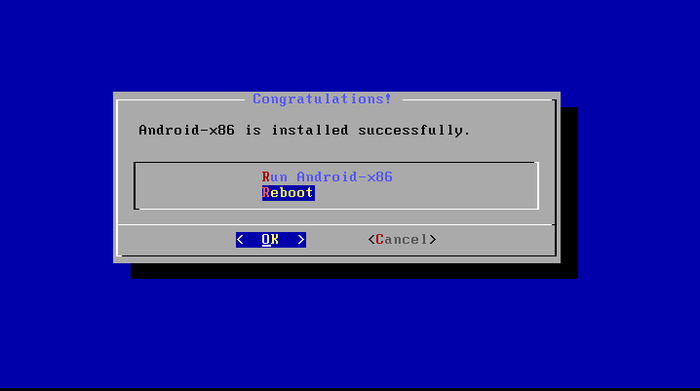
- The Android installer will then install the system to your hard disk. When it completes, select “Reboot”:
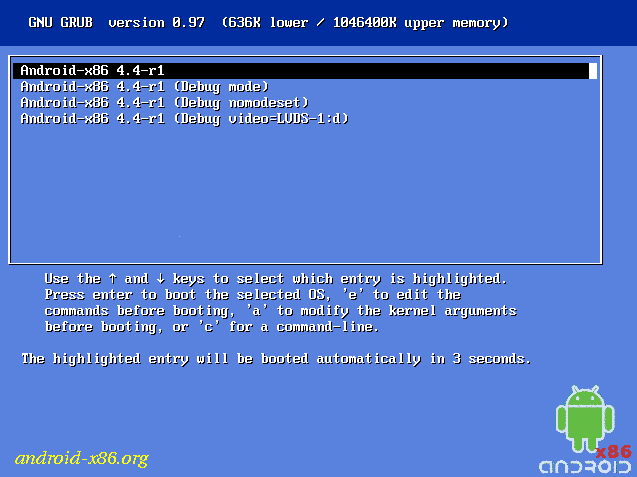
- After you restart the VM, it will boot from the hard disk allowing to select the mode to start. Select the default one:
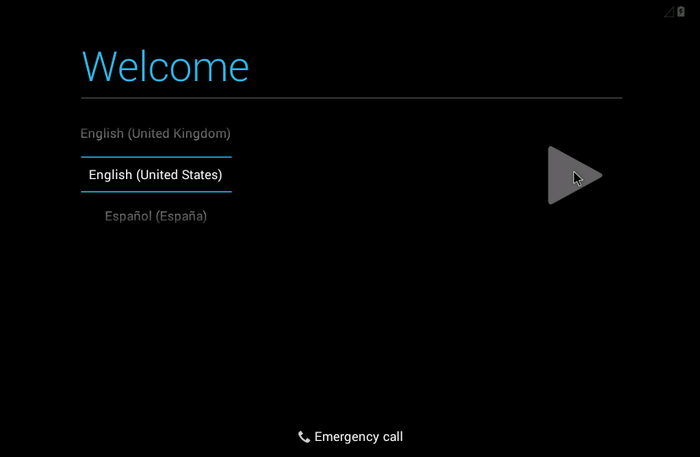
- Once Android loads, it will show the customization menu. Select your language from the list and click on the button to the right:
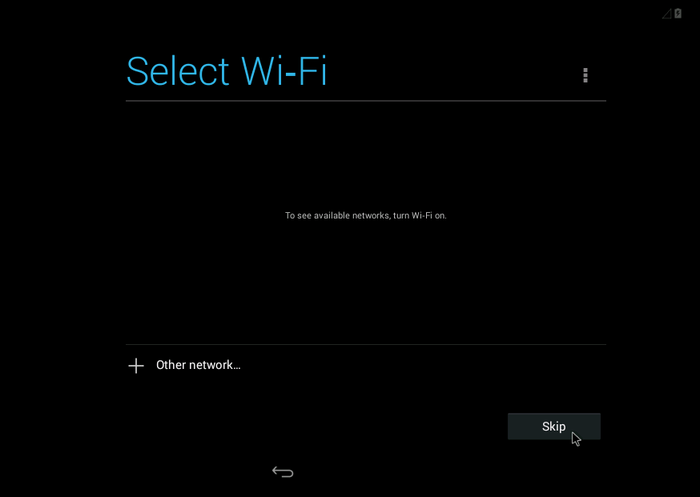
- Skip the WiFi setup. As VMWare is emulating a wired controller, we won’t need WiFi:
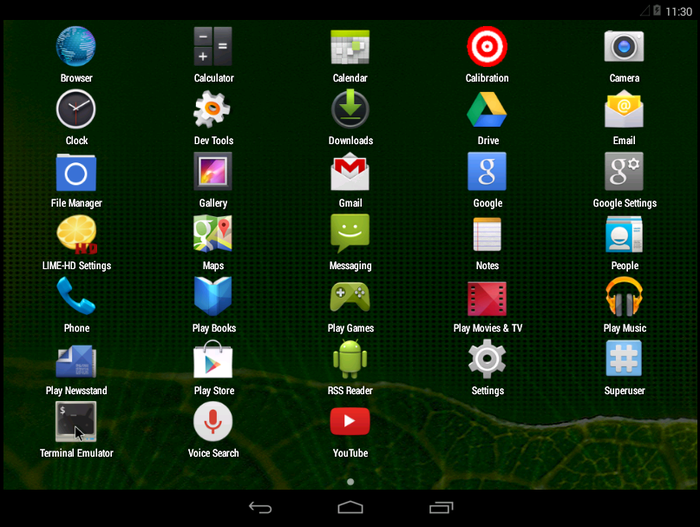
- Once done with personalization, select Terminal from the list of apps:
- Now we need to find out the IP address of the Android VM and adjust file permissions on the run-as tool to support debugging properly. Run the following commands in the terminal:
ifconfig eth0
su
chmod 4750 /system/bin/run-as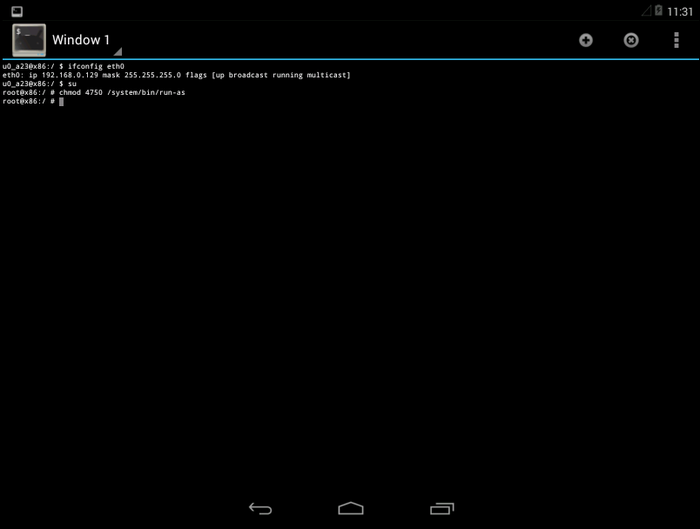
- On your Windows machine open command prompt in the <Android SDK>\platform-tools folder and run the following command:
adb connect <IP address of the VM>:5555
adb shell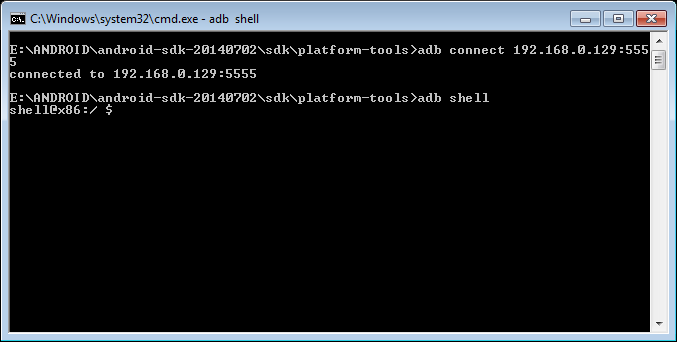 Verify that the shell opens successfully.
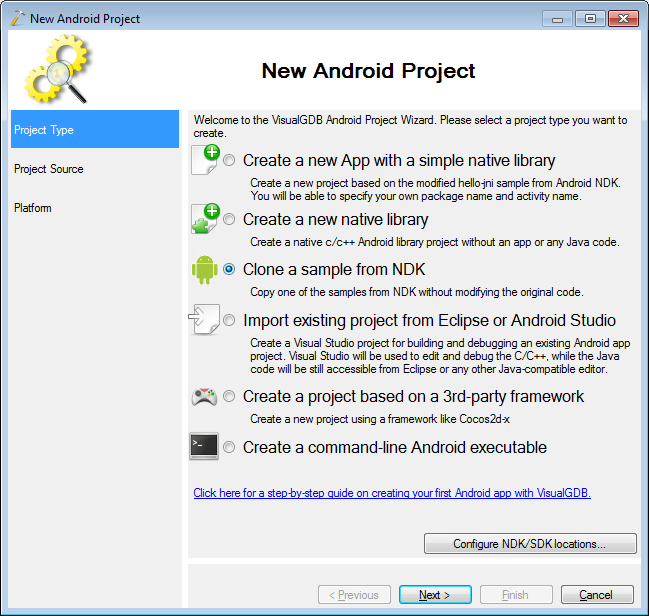
 - Open Visual Studio and start creating a VisualGDB Android project. Select “Clone a sample from NDK” on the first page:
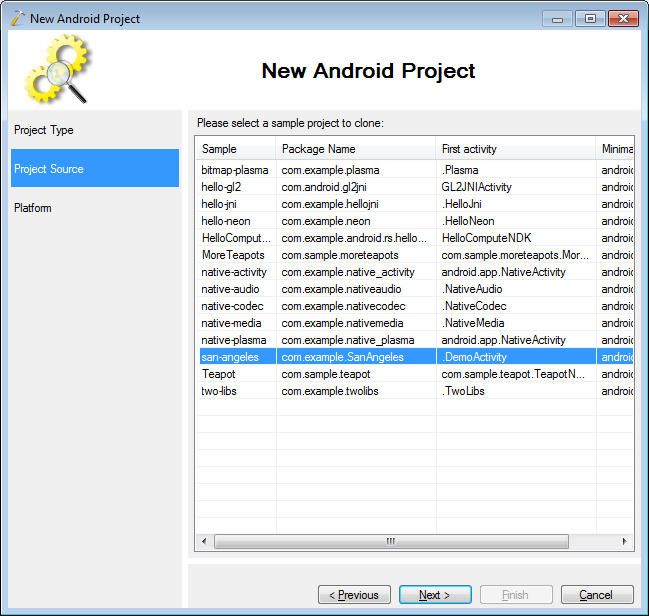
- On the next page select the san-angeles sample:
- On the last page select a platform version and ensure that x86 is selected in the hardware platform list:
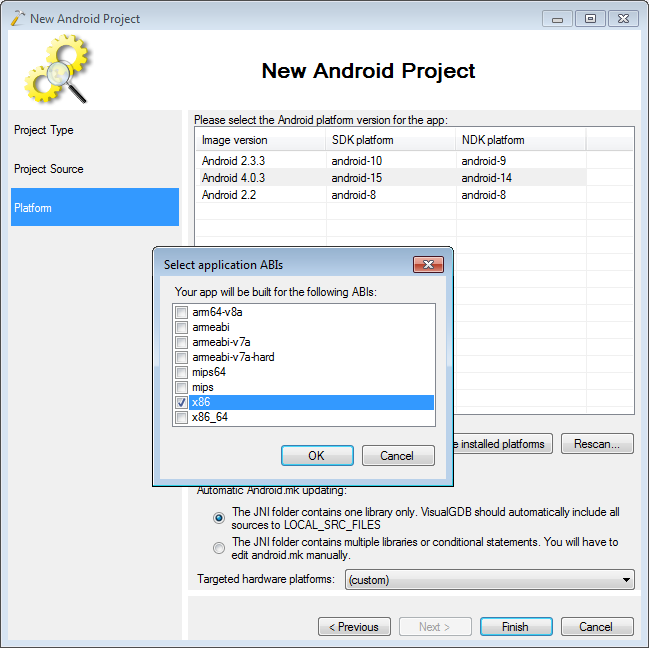
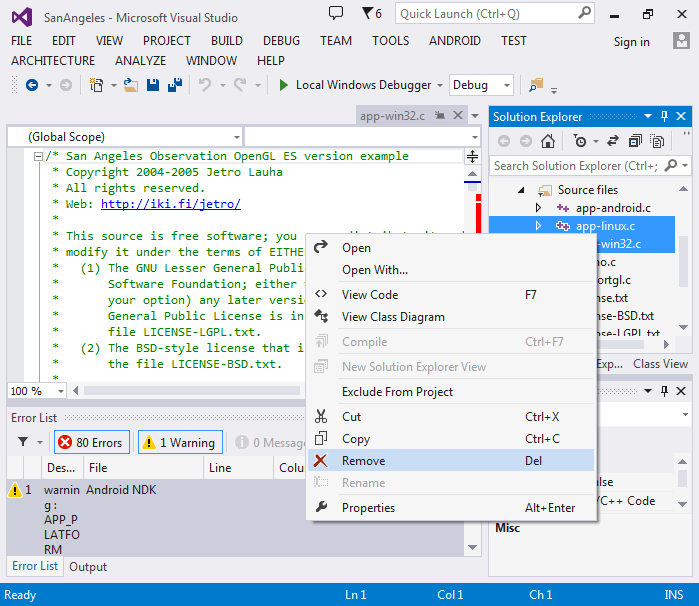
- Press “Finish” to complete creating your project. Once it is created, remove the Linux and Win32 files from Solution Explorer:
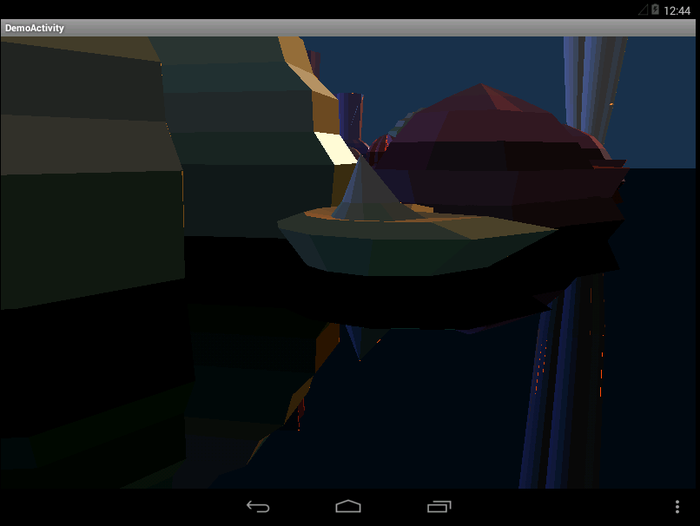
- Press F5 to build your project and begin debugging it. The app will start inside the VM:
- Set a breakpoint somewhere in the code (e.g. in prepareFrame()) to verify that debugging is working:


